![]()
Imprint Builder Tool User Guide
This is our Custom Imprint Builder tool!
This is what you’ll see when finishing up your order and creating your custom imprint. The template is automatically presented for the product you are ordering.
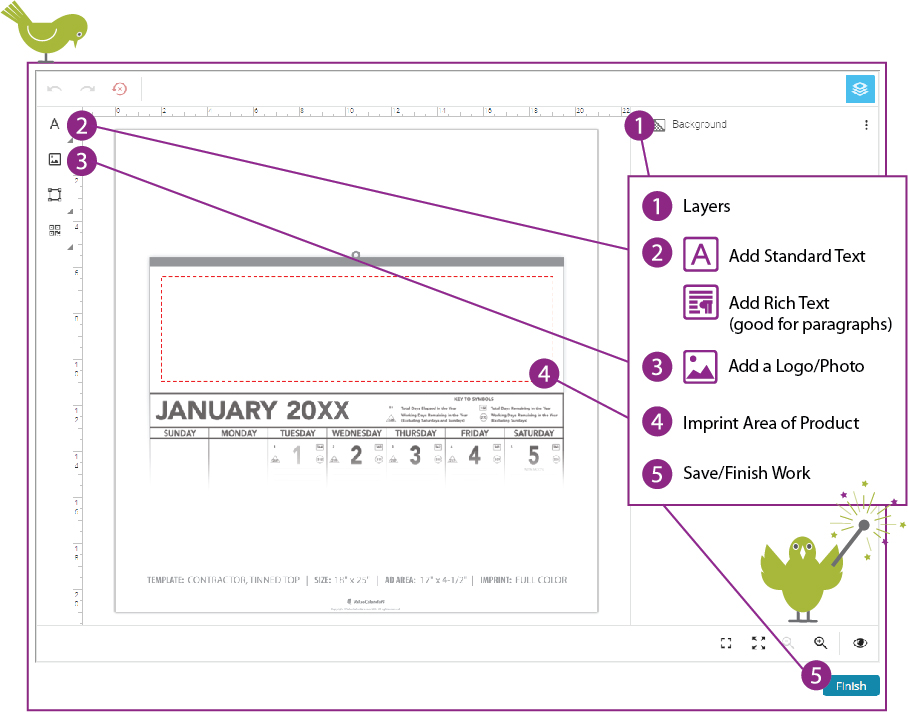
1) Layers – items within imprint builder stacked from “front” to “back”. Provides editing options.
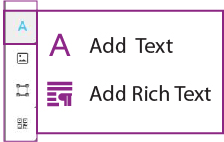
2) Add Standard Text – text that can be easily scaled and moved. Or, Add Rich Text – text preferred for paragraphs; contains formatting options within editor.
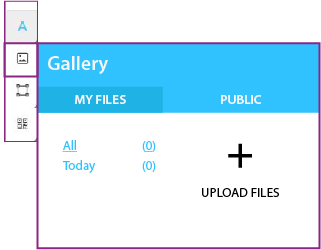
3) Add a Logo or Photo – you will have the option to upload your own logos or photos to place onto the imprint, or you can select images from our public library.
4) Imprint Area – area within the red-dashed box is where the imprint for the calendar is made. Place text and images here.
5) Save/Finish Work – use button to both save and finish your imprint. You can save your progress and choose to make further edits from your shopping cart before finalizing the order.